
ProcedureToCalculateStrenghUsingConcreteMaturityMeter
Step 1: Develop the strength-maturity relationship
#LabTesting:
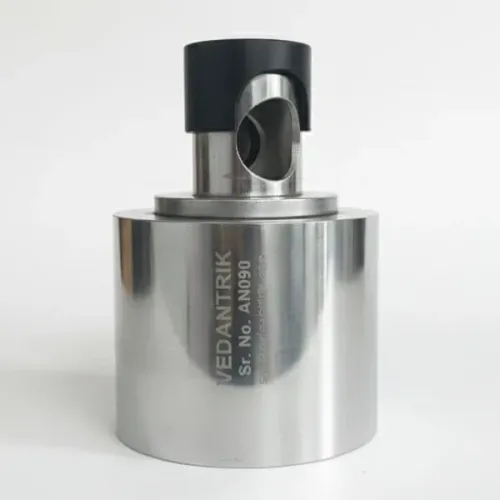
Embed temperature sensors in test specimens made with the specific concrete mix you will use on-site.
Temperature and Strength Measurement: Record the temperature history of the specimens over several days and simultaneously test their compressive strength at different ages (e.g., 1, 3, 7, and 28 days).
Calculate Maturity Index: Calculate the maturity index for each test age using the temperature data and a datum temperature (a reference temperature below which no strength is gained) #vedantrik concrete maturity meter will automatically do that for you
#PlotTheRelationship:
Plot the average compressive strength against the calculated maturity index to create a strength-maturity curve (or 'calibration curve'). This shows how strength increases with maturity for that specific mix. vedantrik concrete maturity provide automation for that
Step 2: Use the maturity meter on-site
Embed Sensors:
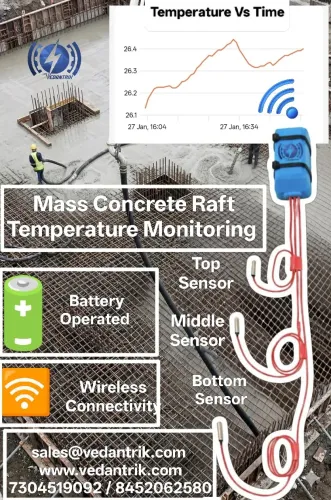
Place temperature sensors into the fresh concrete at critical locations in the structure.
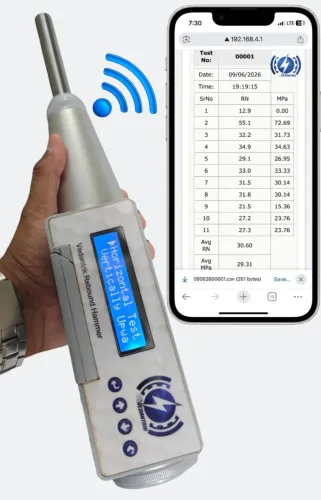
Monitor Temperature: Use the maturity meter to record the concrete's temperature over time. #vedantrik modern meters has wireless sensors and apps to make this easier.
Calculate Real-time Maturity: As the meter collects temperature data, it continuously calculates the in-place maturity index for the concrete element.
Step 3: Estimate in-place strength
Use the Calibration Curve:
Find the current maturity index on the X-axis of your pre-established strength-maturity curve.
Find the Strength: Follow the curve up to the Y-axis to read the estimated in-place compressive strength.
Confirm with a Quality Control Test: For critical applications, it's recommended to supplement the maturity method with occasional quality control tests to ensure the accuracy of the strength estimation.